Rebuild thread: MWSE30 #12


#41

Update 3/18/13:

Getting there . . .

Fresh rebuilt calipers and solid pin guides:


New depowerd rack:


In the engine bay is the new 'lectric fan, relocated coolnt resevoir, and some wirng JVH must be proud of, but I have no idea wht it is:


Finally, some AKG solid RSMs going in:


#42

That oil cooler looks fancy; what brand/model is it? You might want to put some large rubber hose around your oil cooler lines to prevent abrasion and something to isolate vibration from your oil cooler. All in all, the car is looking good!


#43

Dunno what brand, just something JVH had sitting on the shelf.


#44

The oil cooler is a Mocal unit. There are rubber isolation “pads” between the cooler and the mount brackets.

As far as the hose, there is nothing for them to abrade on (well, the stock plastic shroud I guess) so the rubber coating is unnecessary, not to mention a pain in the ass to install. :wink:


#45

Actually, I meant to ask about the device that is inline with the cooler and appears to be an reusable oil filter.


#46

Here you go:

https://www.cantonracingproducts.com/product/25-106/25-106----CM--45-REMOTE-OIL-FILTER--12-PORTS/


#47

Cos, just wanted to say thanks for this thread, a wealth of good information here. My 8-year old SE30 is pretty tired, and I’m starting a fresh build from a 91 2-door soon, and this is a great resource.

It would actually be pretty cool for others who have done nice jobs of documenting build (several I can think of are Ranger in GA and Natalie and Shawn in FL but there have to be others) to re-post links to their documentation, so we can keep it all together. I’ve lost the links to those three sites.

Lots to learn from with all who have done this before.

Ranger, a top-level folder for Build Threads would be cool, I think.


#48

No problem, Chuck. JVH does fantastic work (you should see his E46). I’m thrilled to be able to show it off!


#49

With respect to the wiring picture, on the later cars (88+), all of the connections between the ECU engine wiring harness and the chassis harness go through connector C101, the round one next to the fuse box. On the early cars, there is a seperate connection (C104) that is near the ECU and under the dash. It has three conductors, +12V, tach and fuel econ.

Kyle’s new chassis is an '88 while his engine harness was from an '87 (or earlier). I choose to splice in a seperate line to the chassis side of connector C101 to connect to C104 on the earlier engine harness. That way, you can run either engine harness on that chassis and we didn’t disturb a known good engine harness.

jvh


#50

Update 3/31/13:

JVH is working on some other projects, so I get to do some work. I was assigned two specific projects–gut the doors and finish removing the wiring. JVH still let me do the wiring even after I admitted to reversing the poles on the battery tender . . .

We weighed the car with everything in it (and before wiring and doors gutted) and got 2527 with a full tank of gas.

So now I get to show off my work:

Doors done (JVH hasn’t given me permission to cut them yet :evil: )

All the wiring and associated parts I removed (and the car didn’t start only once!)

Even got some stickers on the car (more in my skill set)


#51

Oh good god, I just realized it’s red…

So many fast Red SE30’s… ugh

:evil:


#52

Kyle will be driving this one so no worries :whistle:


#53

LMAO!

hmm, OK, one more trip to Europe and I can start getting the BLUE car ready

Blue > Red


#54

[quote=“kgobey” post=71819]LMAO!

hmm, OK, one more trip to Europe and I can start getting the BLUE car ready

Blue > Red[/quote]

This post is full of fail! Get your ass moving–you have two weeks. Your car is more done than mine!!!


#55

well, you mean it moves under it’s own power - if that qualifies as “done more than mine”… LOL


#56

Well, its done, tested, and ready for its maiden race at GinerMan in two weeks. Huge thanks to John Van Houten and Elephant Motorsports for building a spectacular car! I hope I can do it justice!

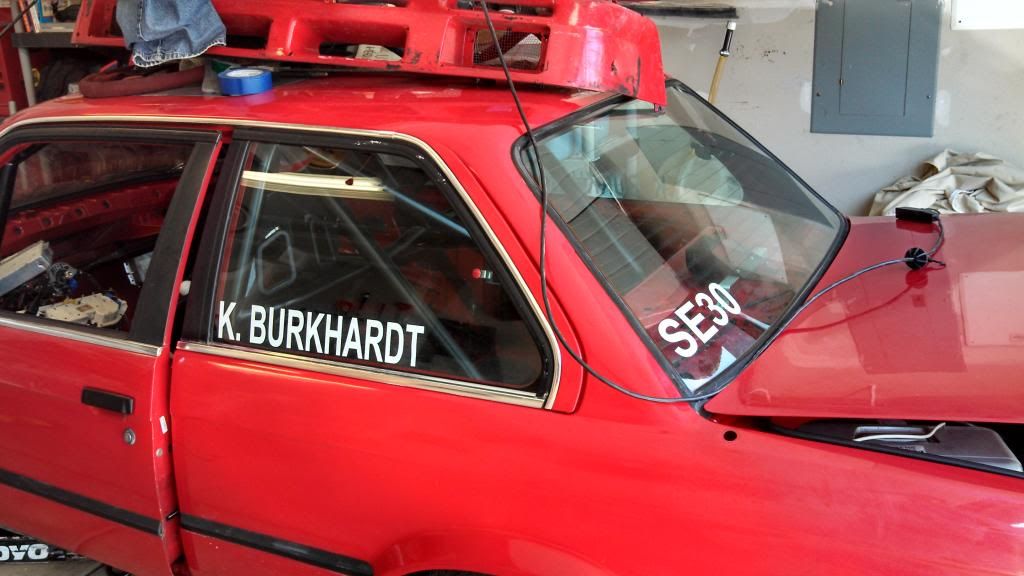
Spent the day giving its first (and probably only) wash, clay, polish and wax, and got all the stickers on.

One of my favorite parts of the car–the Home Depot air dam (don’t call it a splitter):

[URL=http://s41.photobucket.com/user/cosM3os/media/IMG_20130609_113711_5831_zps4693da5b.jpg.html]
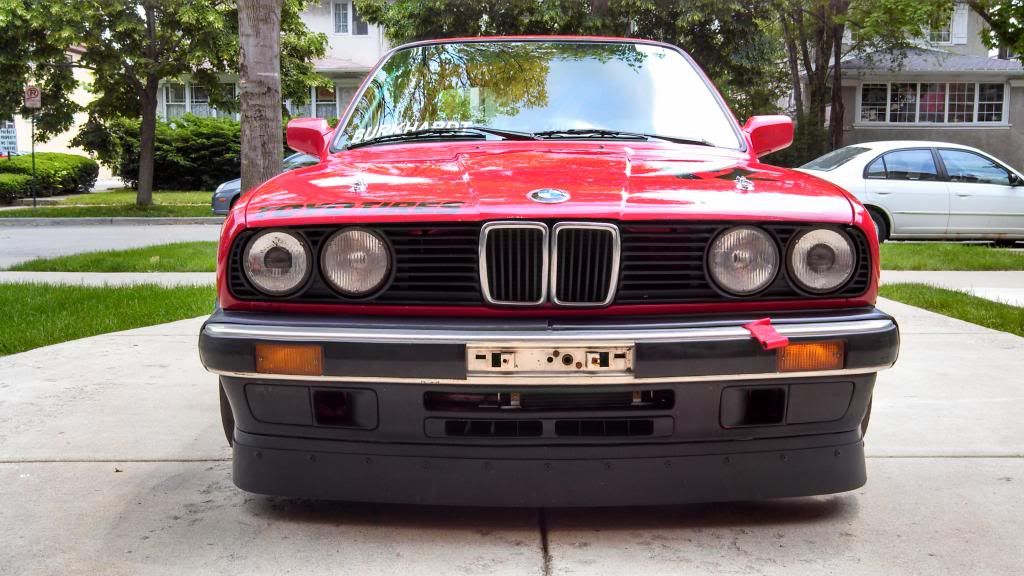
[/URL]

You Florida boys know what’s up!

[URL=http://s41.photobucket.com/user/cosM3os/media/IMG_20130609_113836_296_zpsb7db2a66.jpg.html]
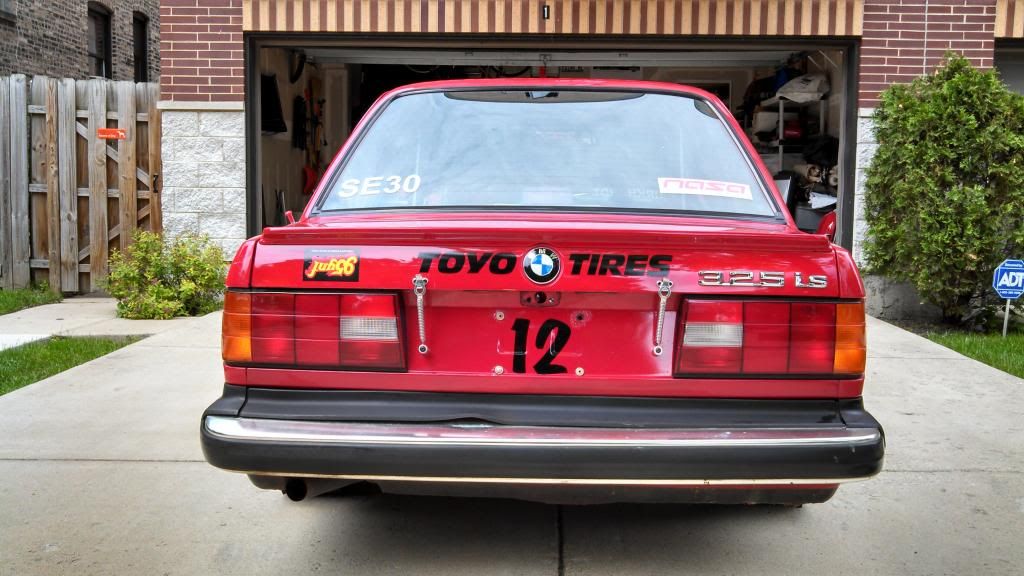
[/URL]

[URL=http://s41.photobucket.com/user/cosM3os/media/IMG_20130609_113911_632_zps7551ded6.jpg.html]
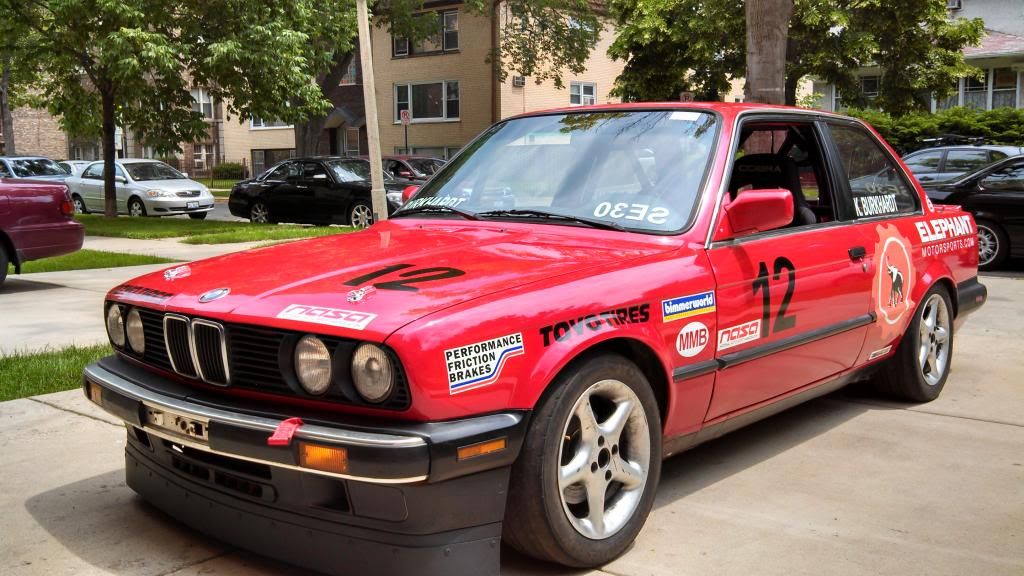
[/URL]

[URL=http://s41.photobucket.com/user/cosM3os/media/IMG_20130609_113821_397_zps2f03b8dc.jpg.html][/URL]

[URL=http://s41.photobucket.com/user/cosM3os/media/IMG_20130609_113937_781_zps2a77afd8.jpg.html]
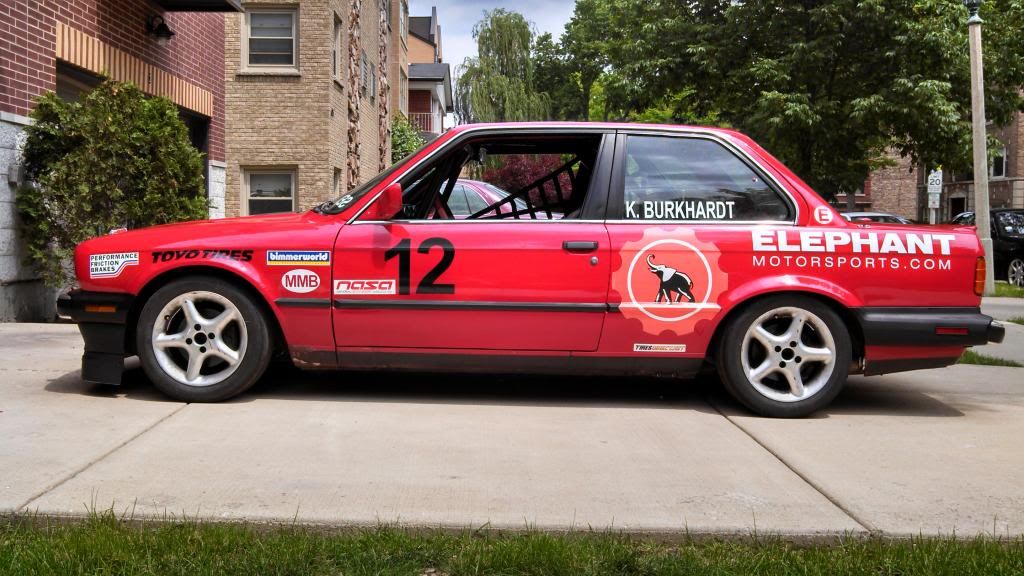
[/URL]

[URL=http://s41.photobucket.com/user/cosM3os/media/IMG_20130609_113954_624_zps41467155.jpg.html]
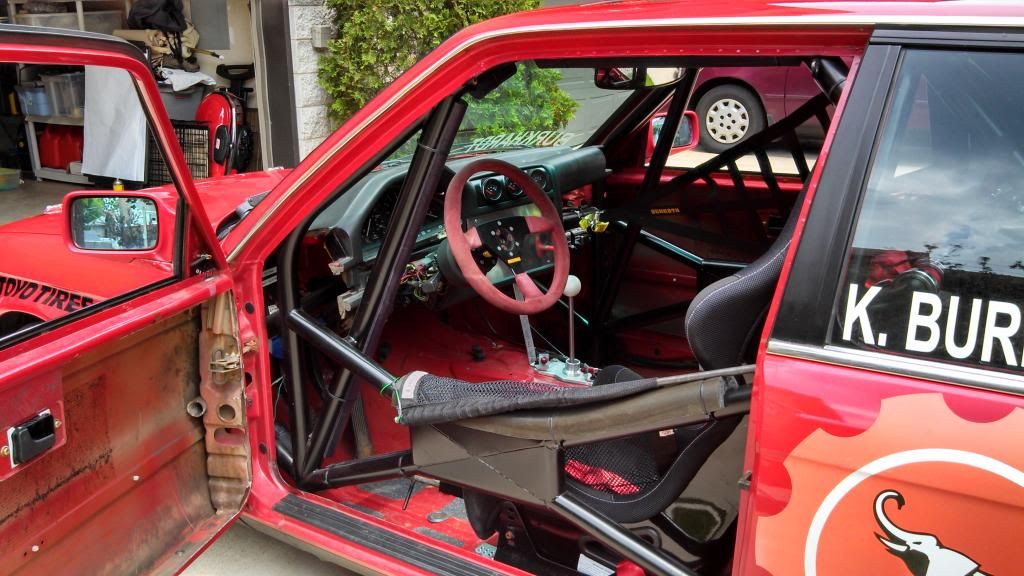
[/URL]

[URL=http://s41.photobucket.com/user/cosM3os/media/IMG_20130609_114000_986_zps2ddef66e.jpg.html][/URL]

[URL=http://s41.photobucket.com/user/cosM3os/media/IMG_20130609_114021_358_zpsce3c6e4c.jpg.html][/URL]

[URL=http://s41.photobucket.com/user/cosM3os/media/IMG_20130609_114043_008_zps987ca8de.jpg.html][/URL]

[URL=http://s41.photobucket.com/user/cosM3os/media/IMG_20130609_114150_779_zpsa5f0ce66.jpg.html]
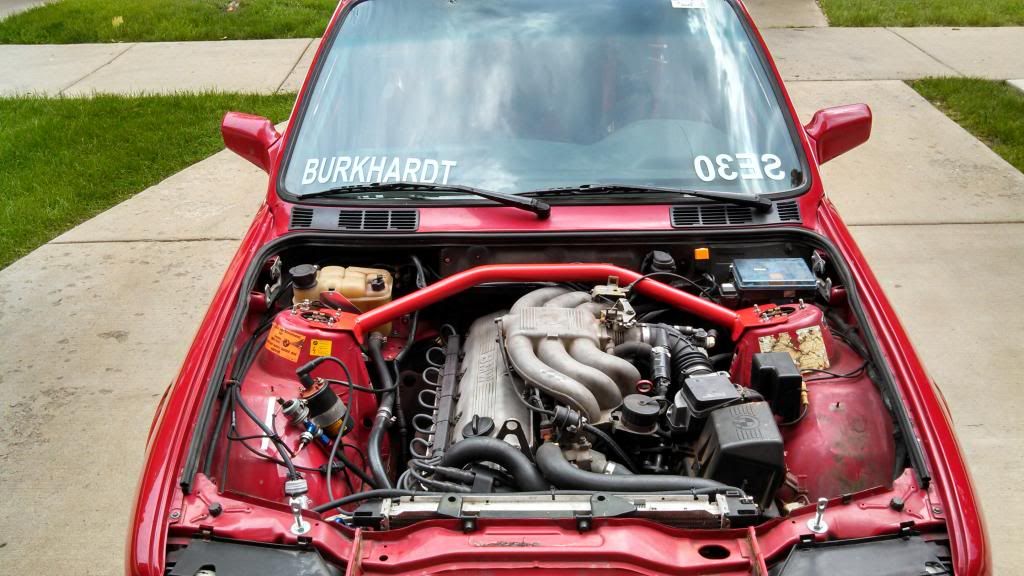
[/URL]

Thanks for following the build!


#57

The car looks great!


#58

Looking forward to taking hits from that tucked front bumper.


#59

Looks great, congrats.

That right side net’s forward anchor close enough to you to make the net work?