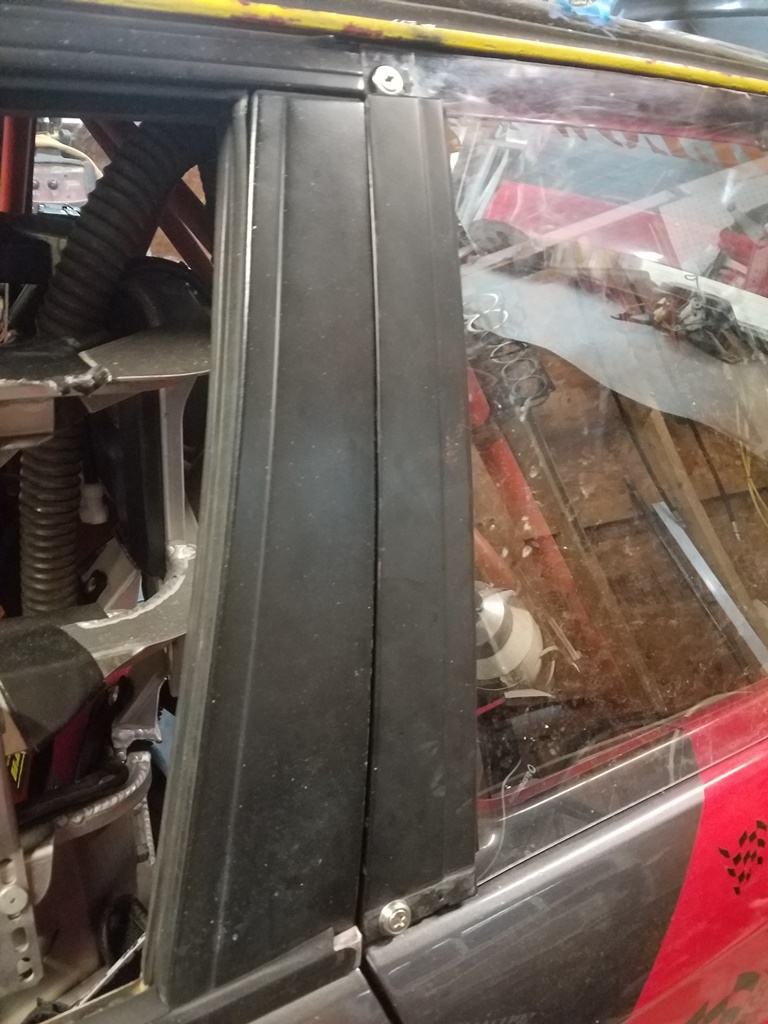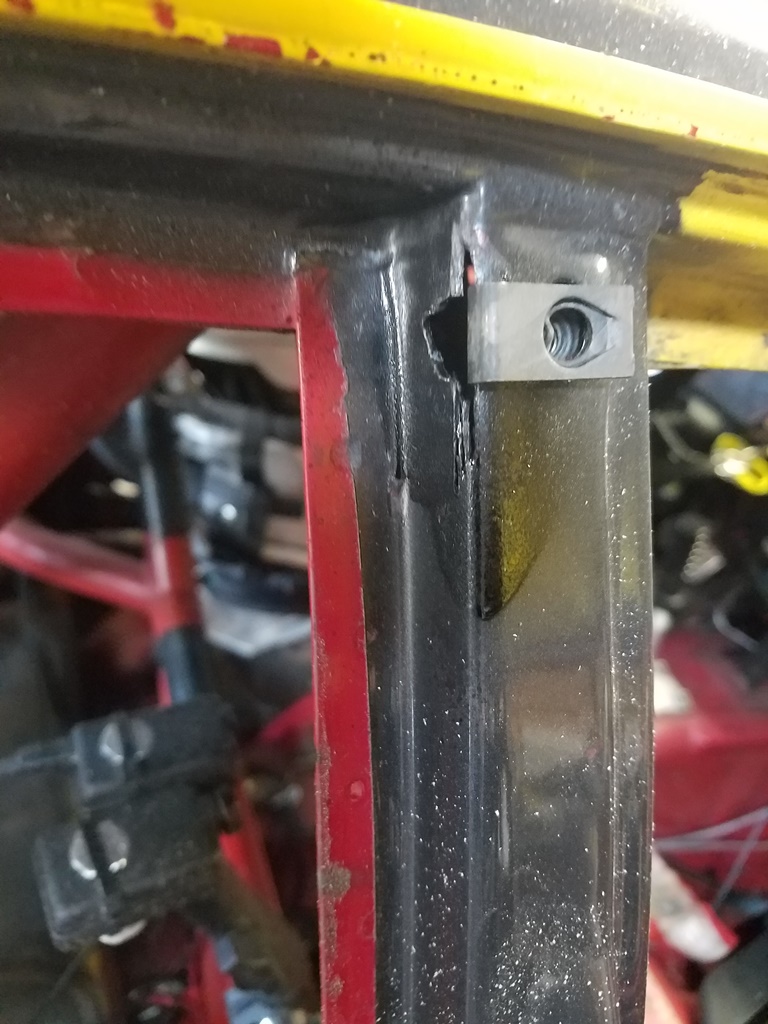


I pulled the black molding off of the old windows and used it to fasten the leading edge of the Lexan. I cut the B pillar up a bit in order to put a U nut at the top of it. The charm of a U nut is that they will move around a bit so perfect precision isn’t required. The U nuts I used is pretty stout.
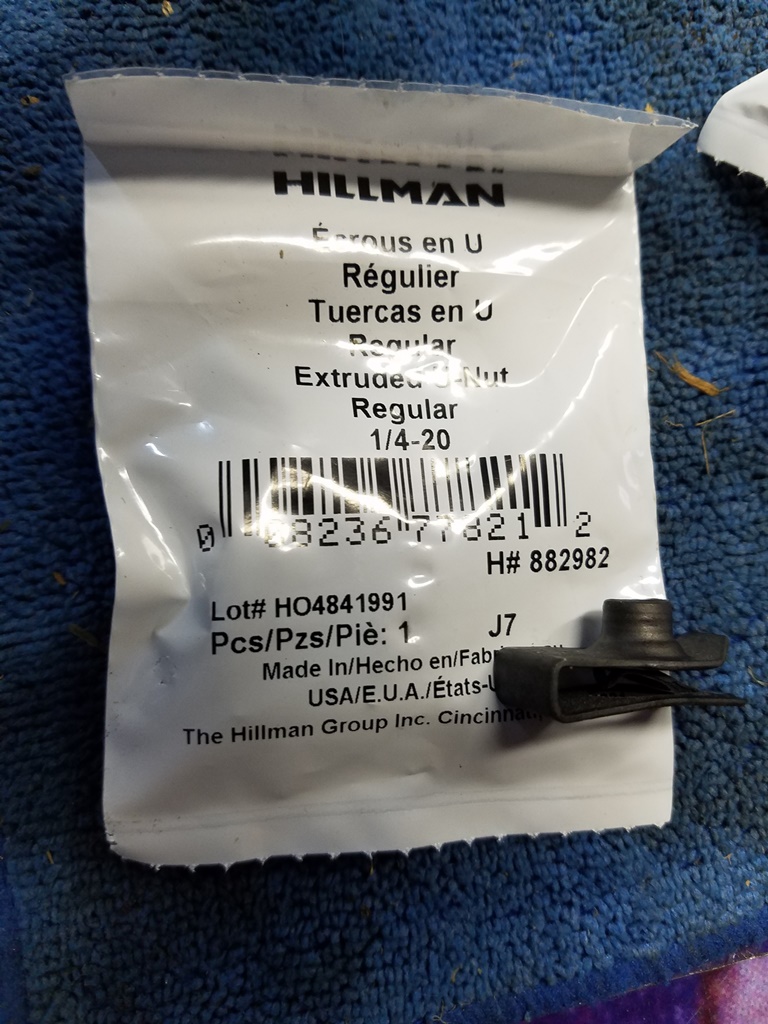
All hardware was 1/4 in. All the screws are SS from Home Depot and Lowes. The finishing washers are SS. The U nuts came from Lowes.
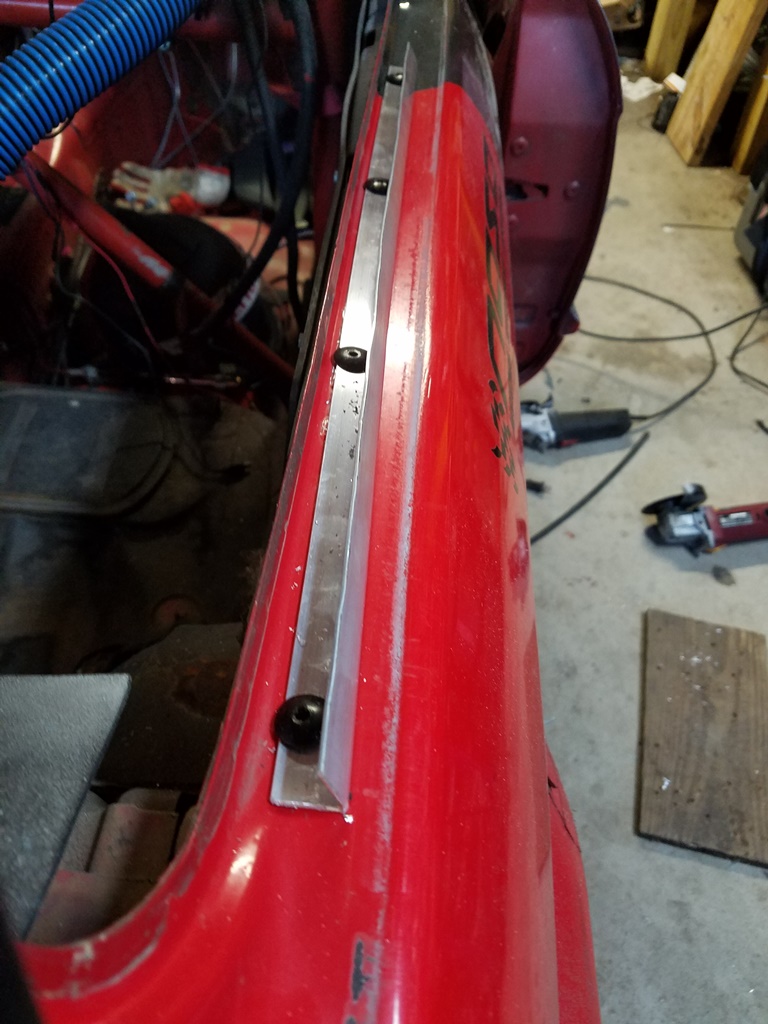
U nuts were also used to fasten the Lexan at the rearward top and bottom fastening points.
The top mount is made of a piece of AL box, 3/4" in cross section. The bottom mount is AL angle bar, 3/4". I banged on the bottom angle piece a bit to increase it’s angle from 90deg to maybe 110deg. Each piece of AL is riveted to the car.
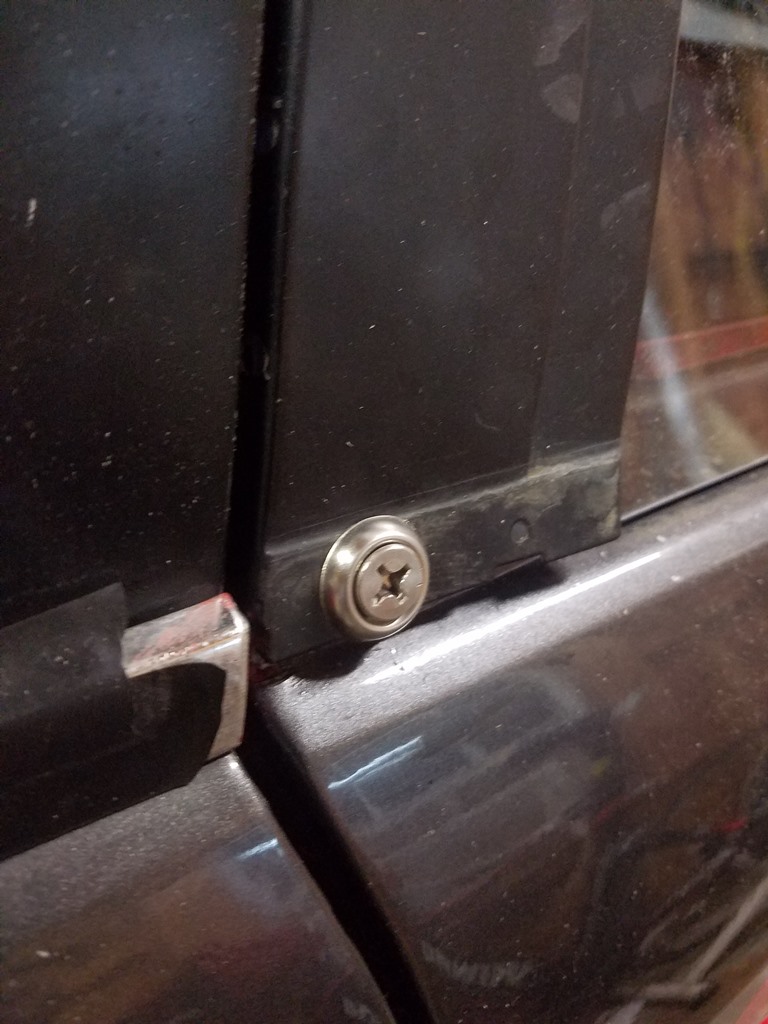
The original intent had been to rig this up such that I’d have access to the rear area in 10secs, but I didn’t achieve that. One of the early plans had hinges on the leading edge. I installed 2 versions of that idea, but both of them had flaws. Ultimately I went for 4 fastening points. They’re big Philips SS screws. Since they’re big, a Philips screw driver pops in place with a casual gesture, and since they’re SS, the metal is really hard. So the screw slots won’t get chewed up over time.
I also rigged up something such that when you thread the screws out, they stay imbedded in the Lexan. Therefore they won’t get lost.
I figure it’s prob 20secs to remove the Lexan window.

I used this to cut the Lexan. 12 Volt Cordless Variable Speed Oscillating Multifunction Power Tool
Nutsert tool. 45 Piece Threaded Insert Riveter Kit
Total weight difference is 16lbs.