

Getting the (aftermarket adjustable) rear suspension to stay in place (especially the toe) is notoriously difficult. Certainly the recently allowed spherical bushings help. See write-up on that here:
When installing the bushings, forget any tools designed to press them in place. Put the bushings in the freezer overnight, heat the trailing arm gently with a propane torch and slide it in like butter.
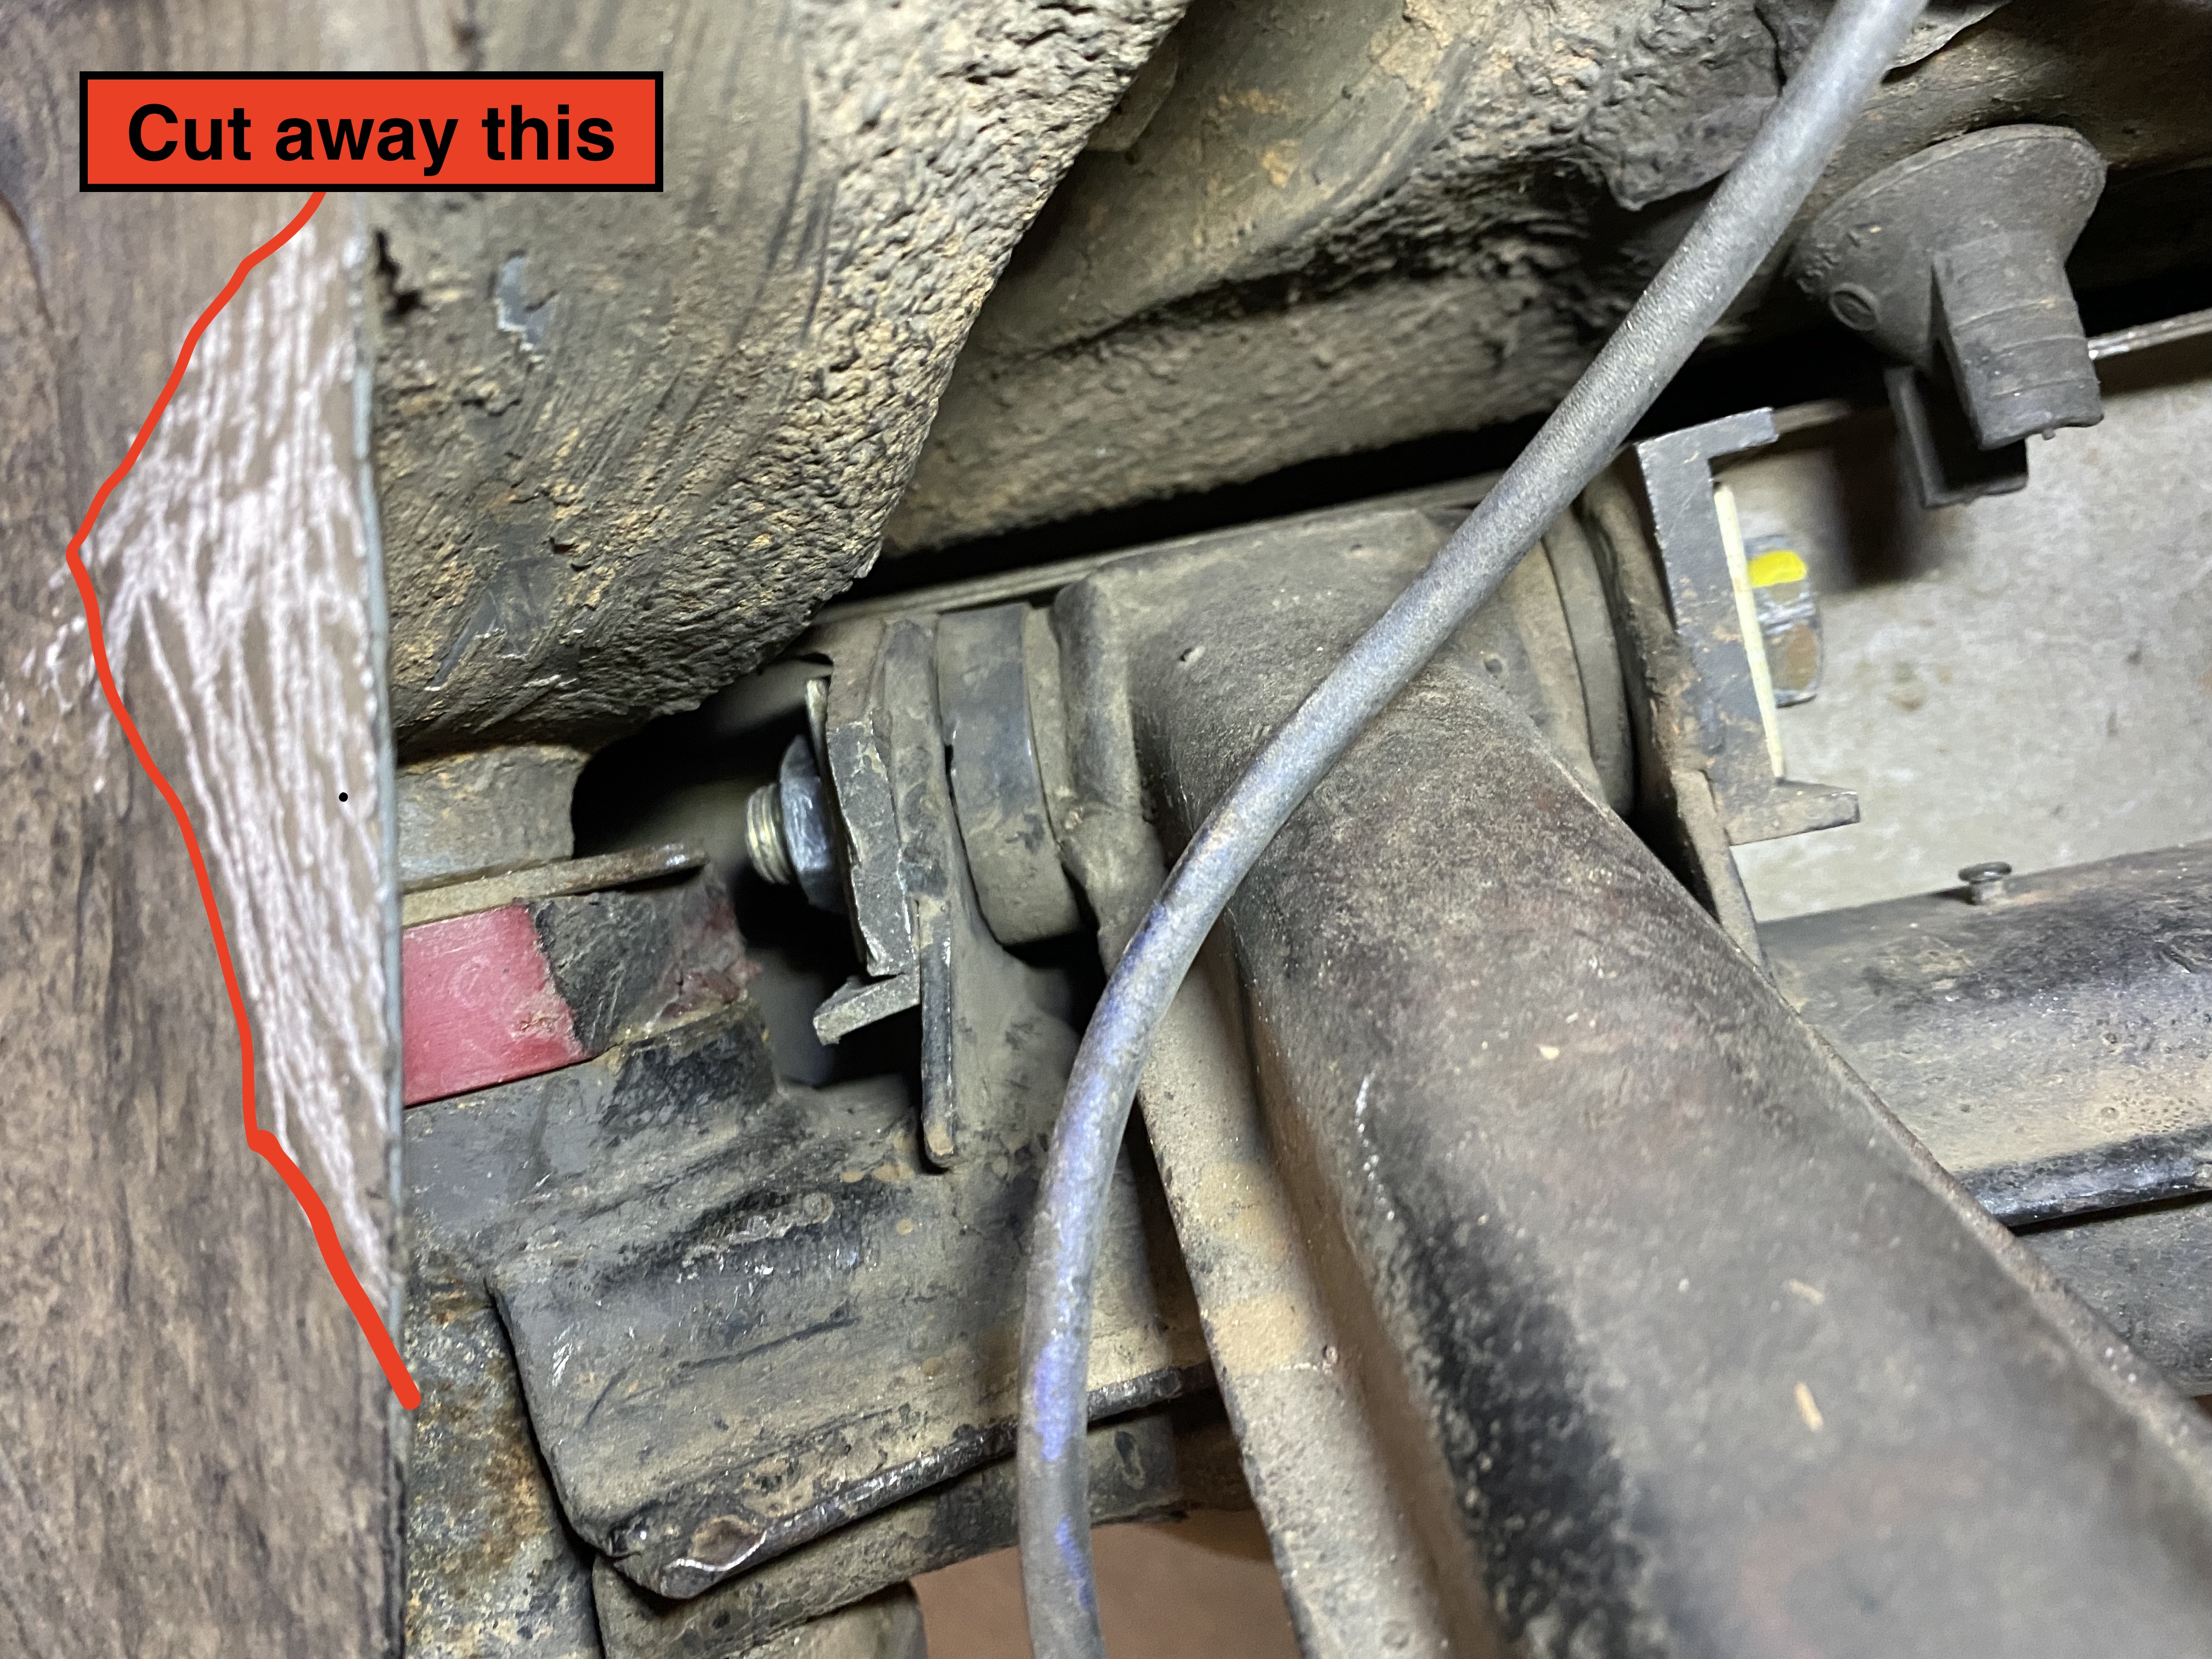
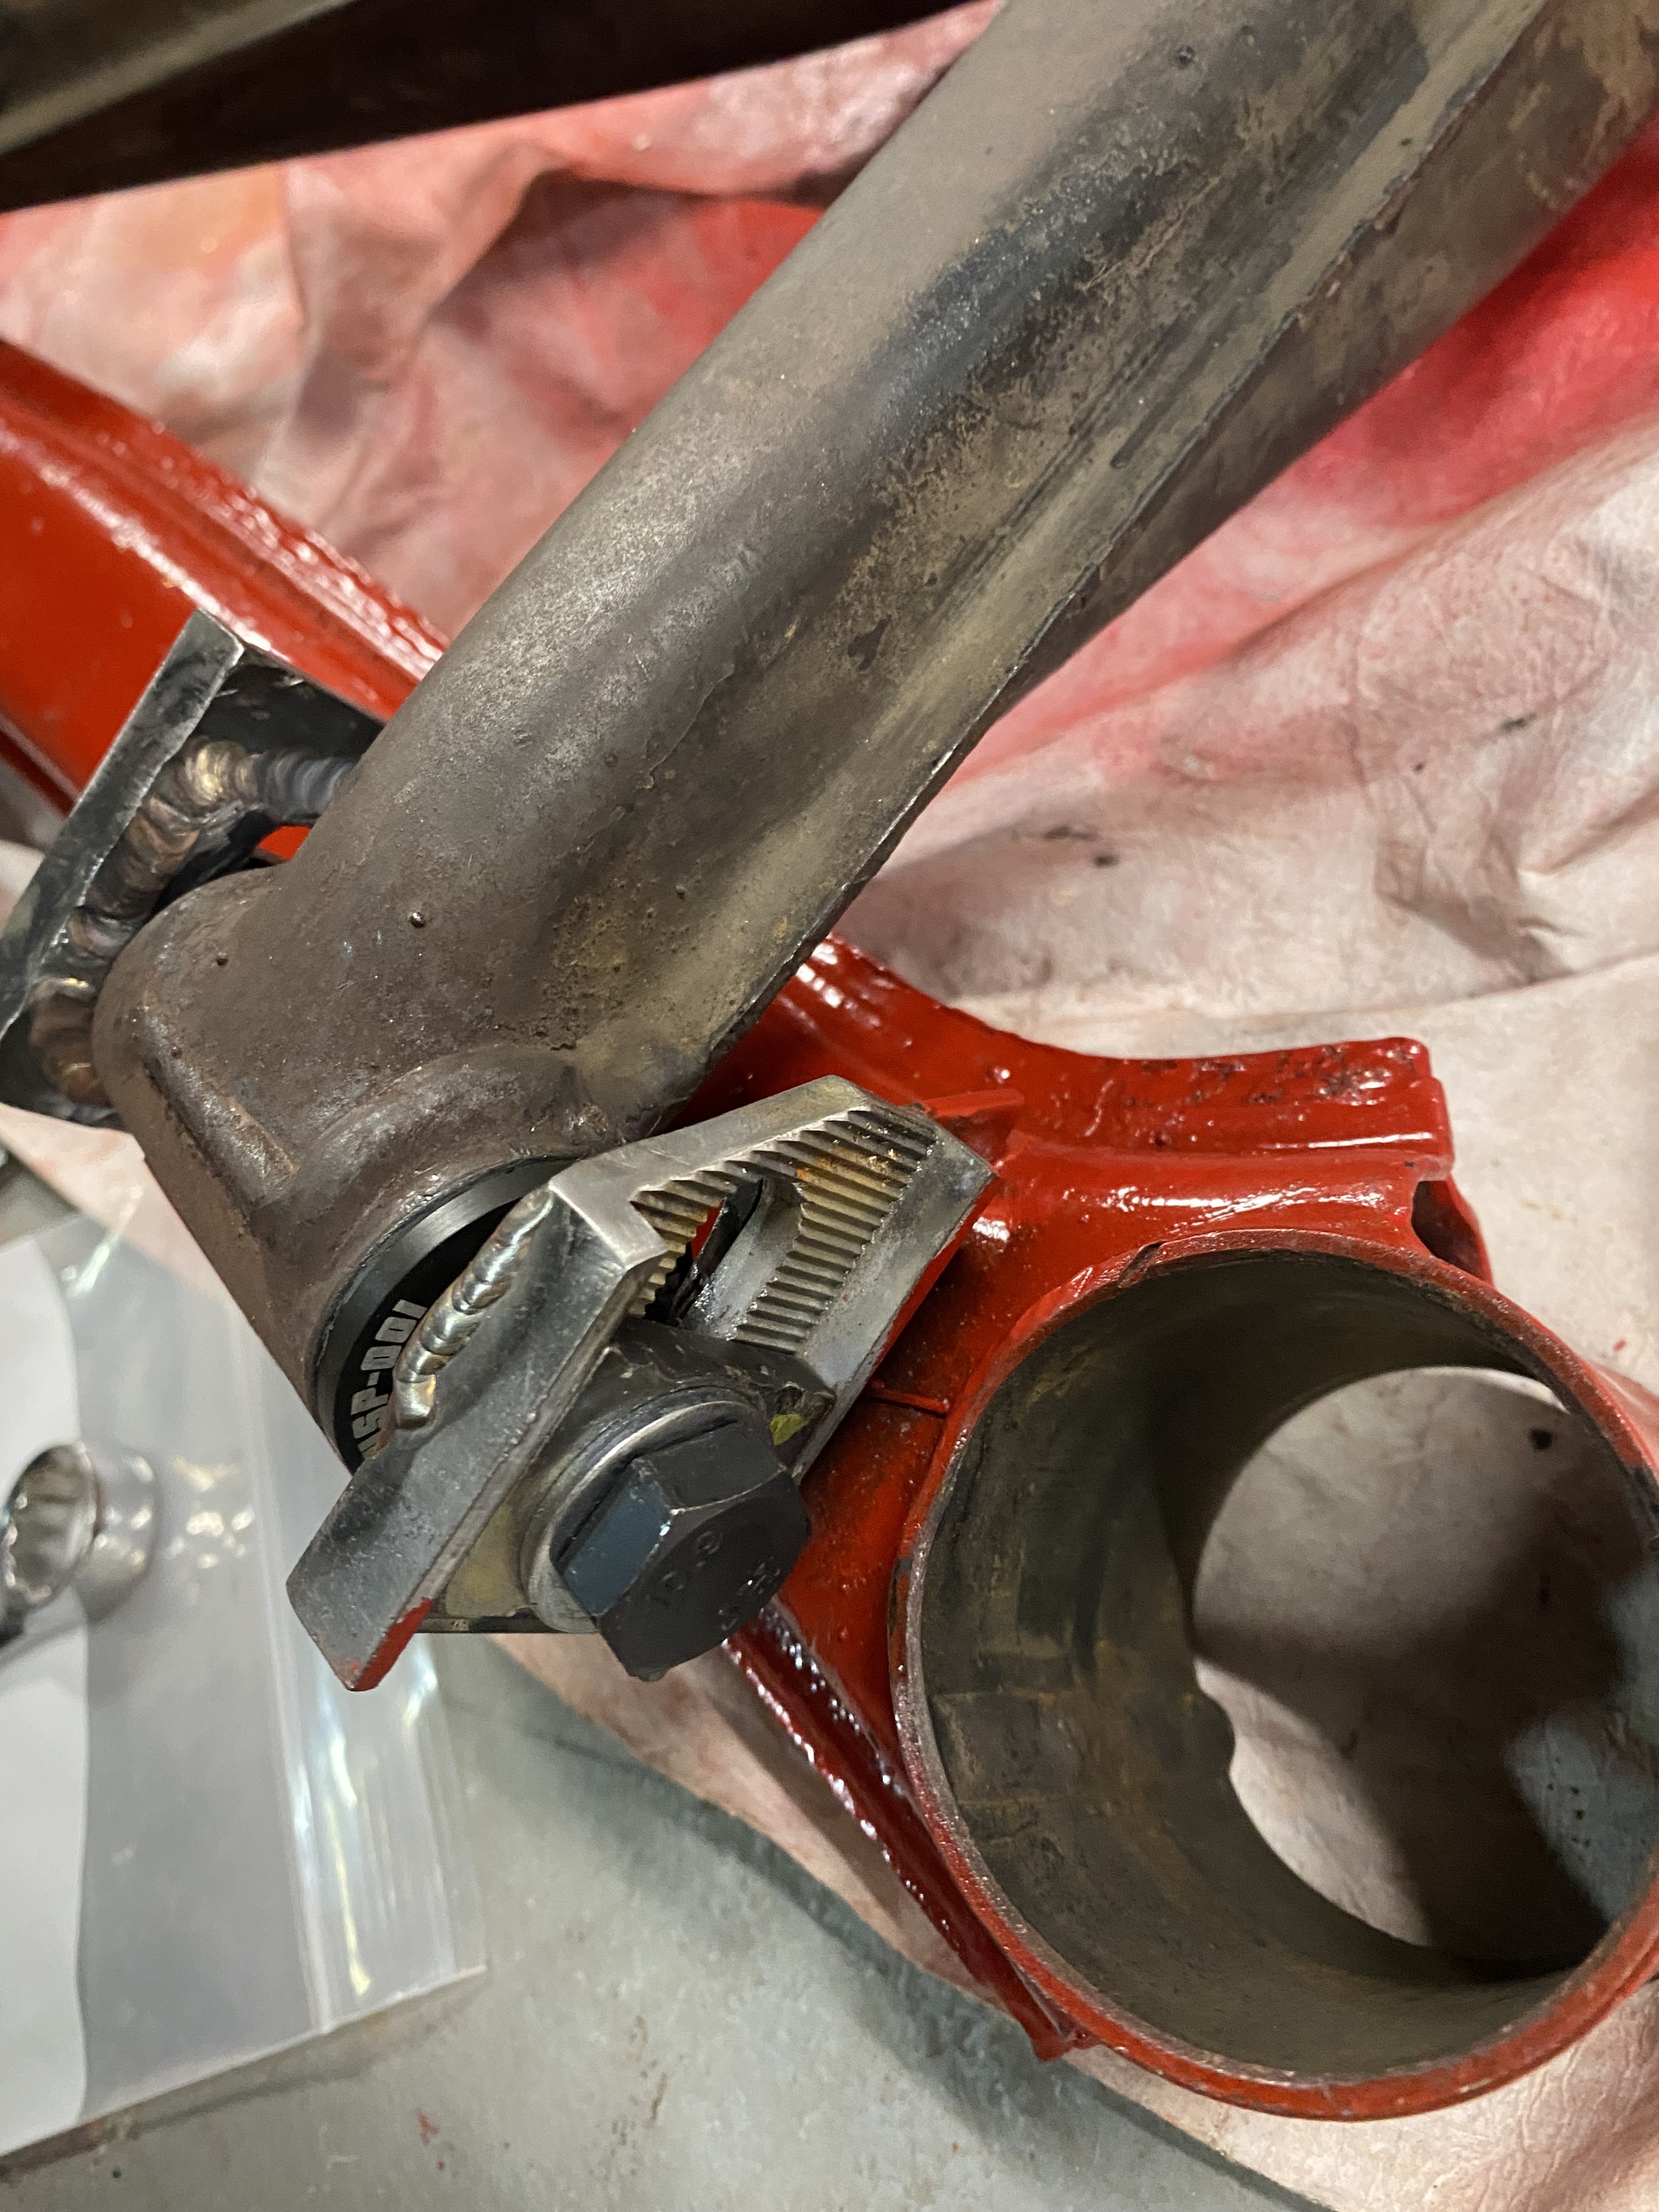
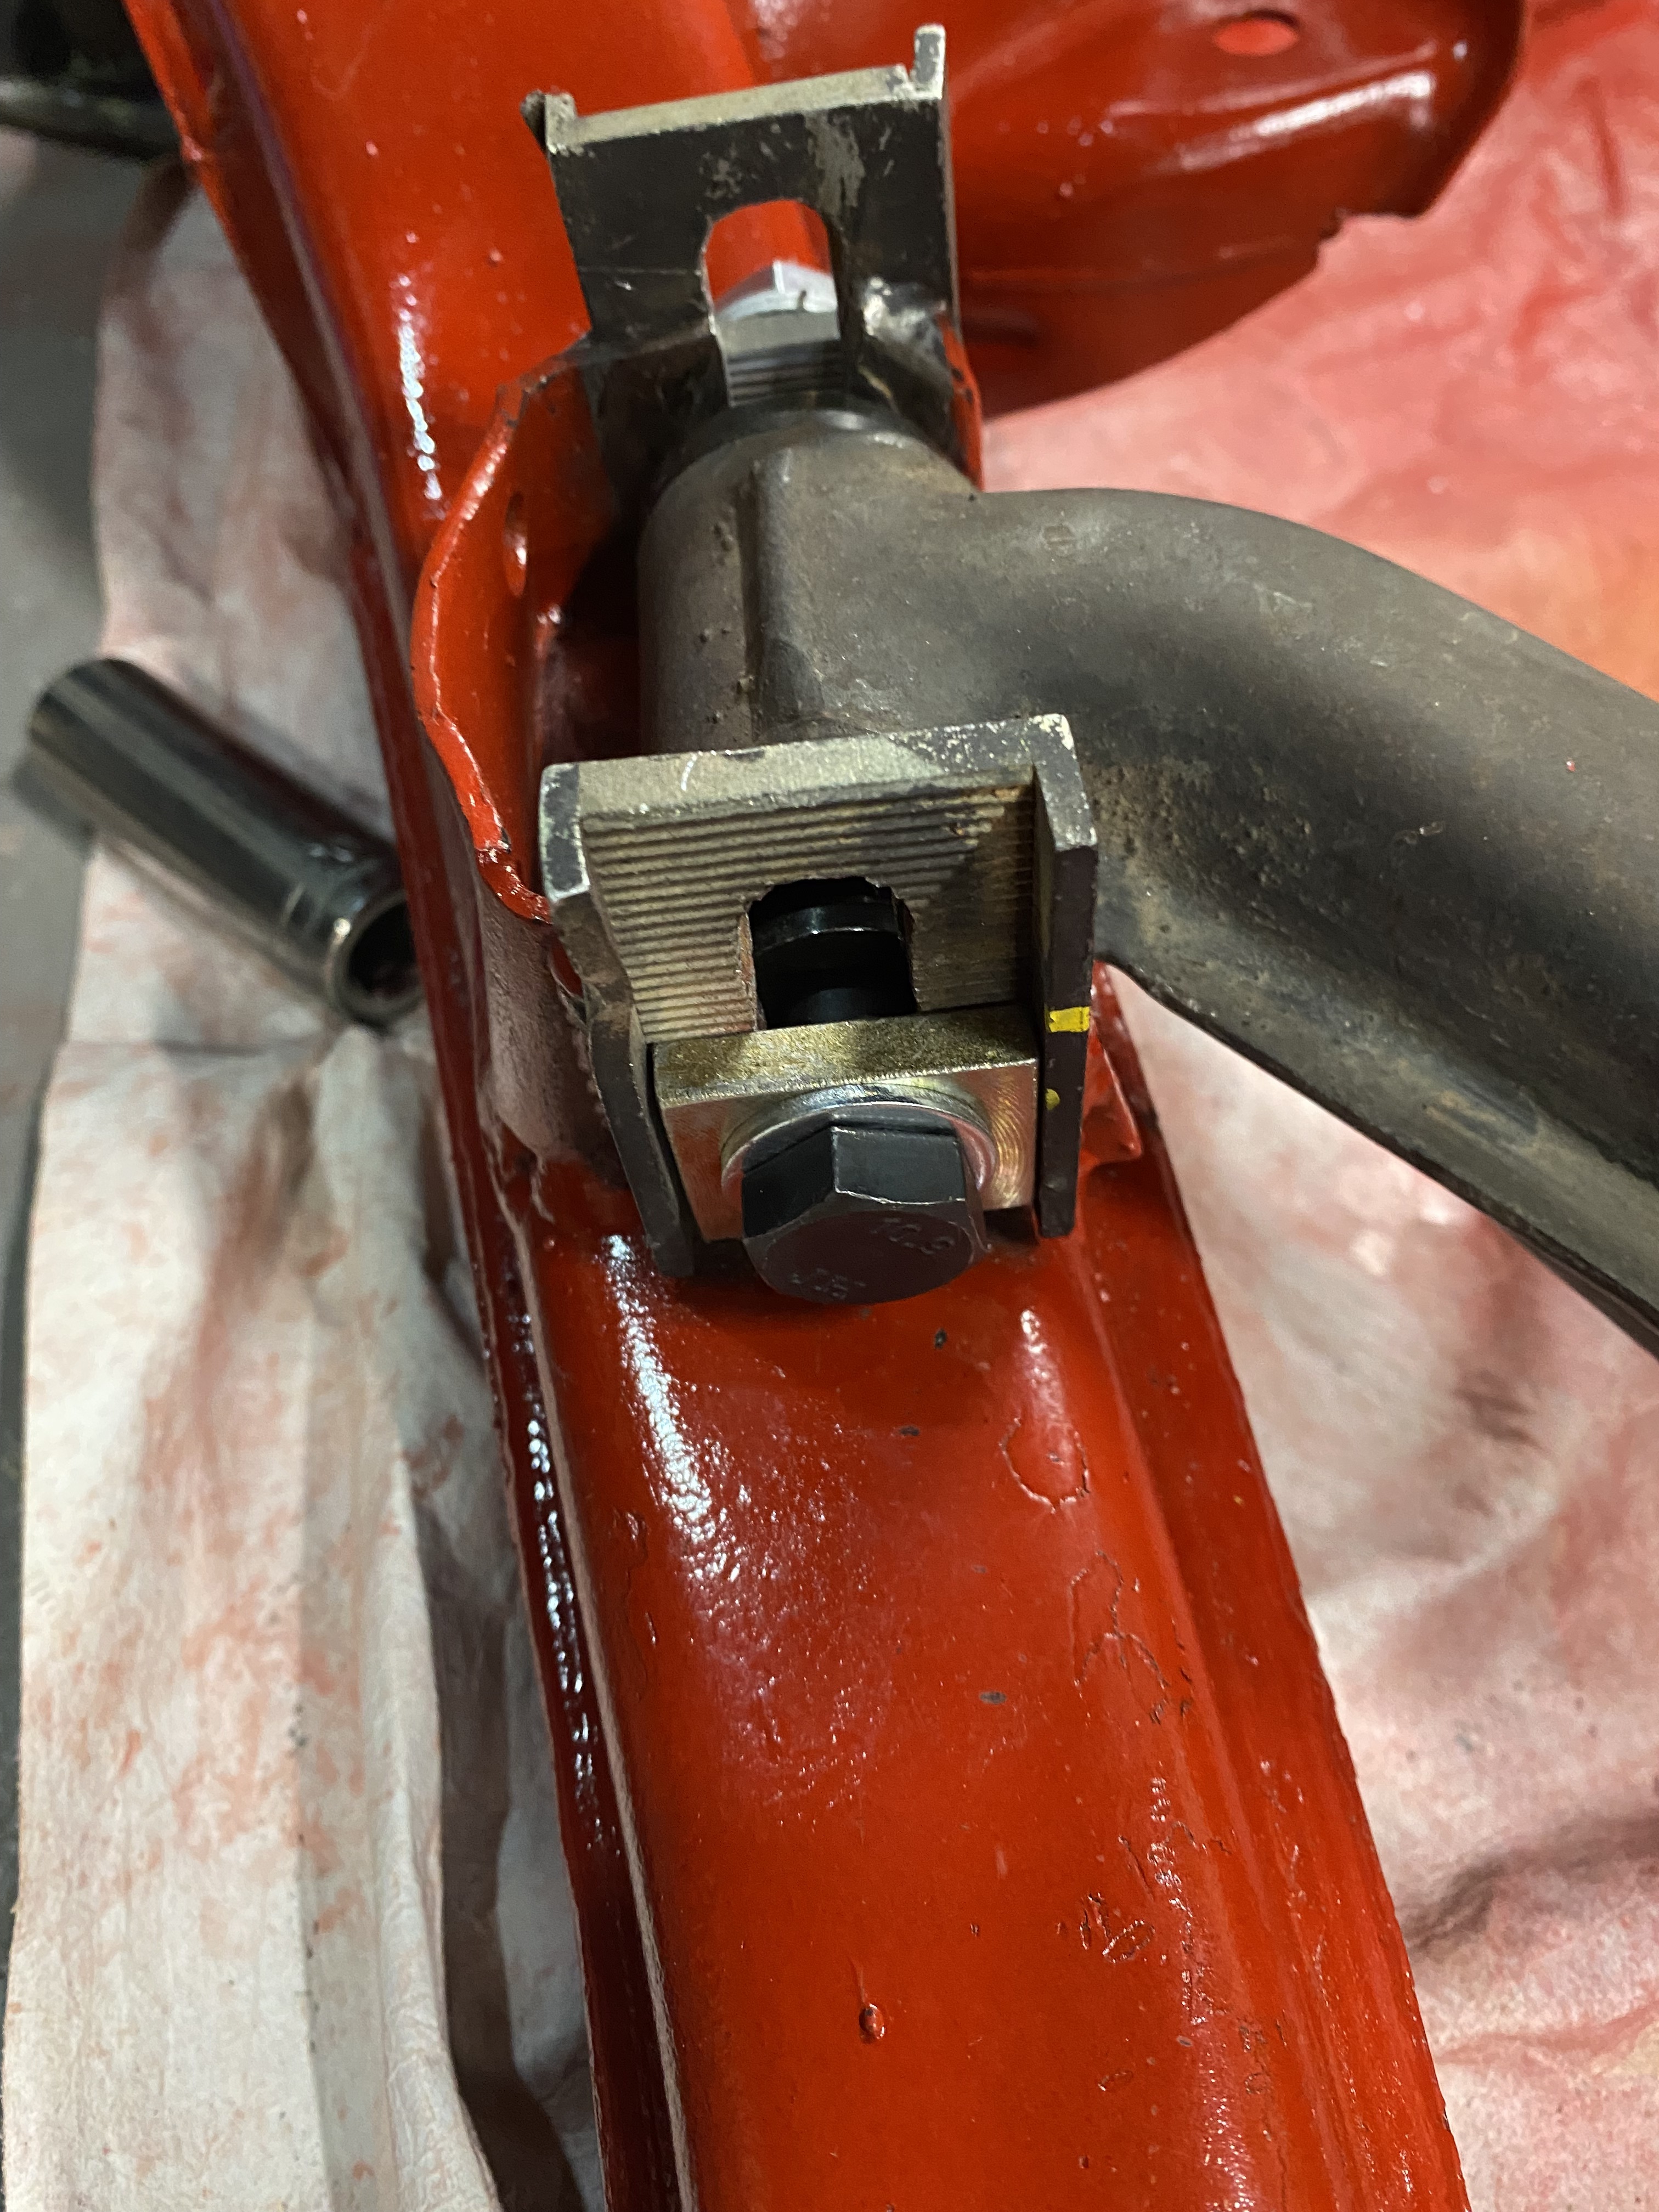
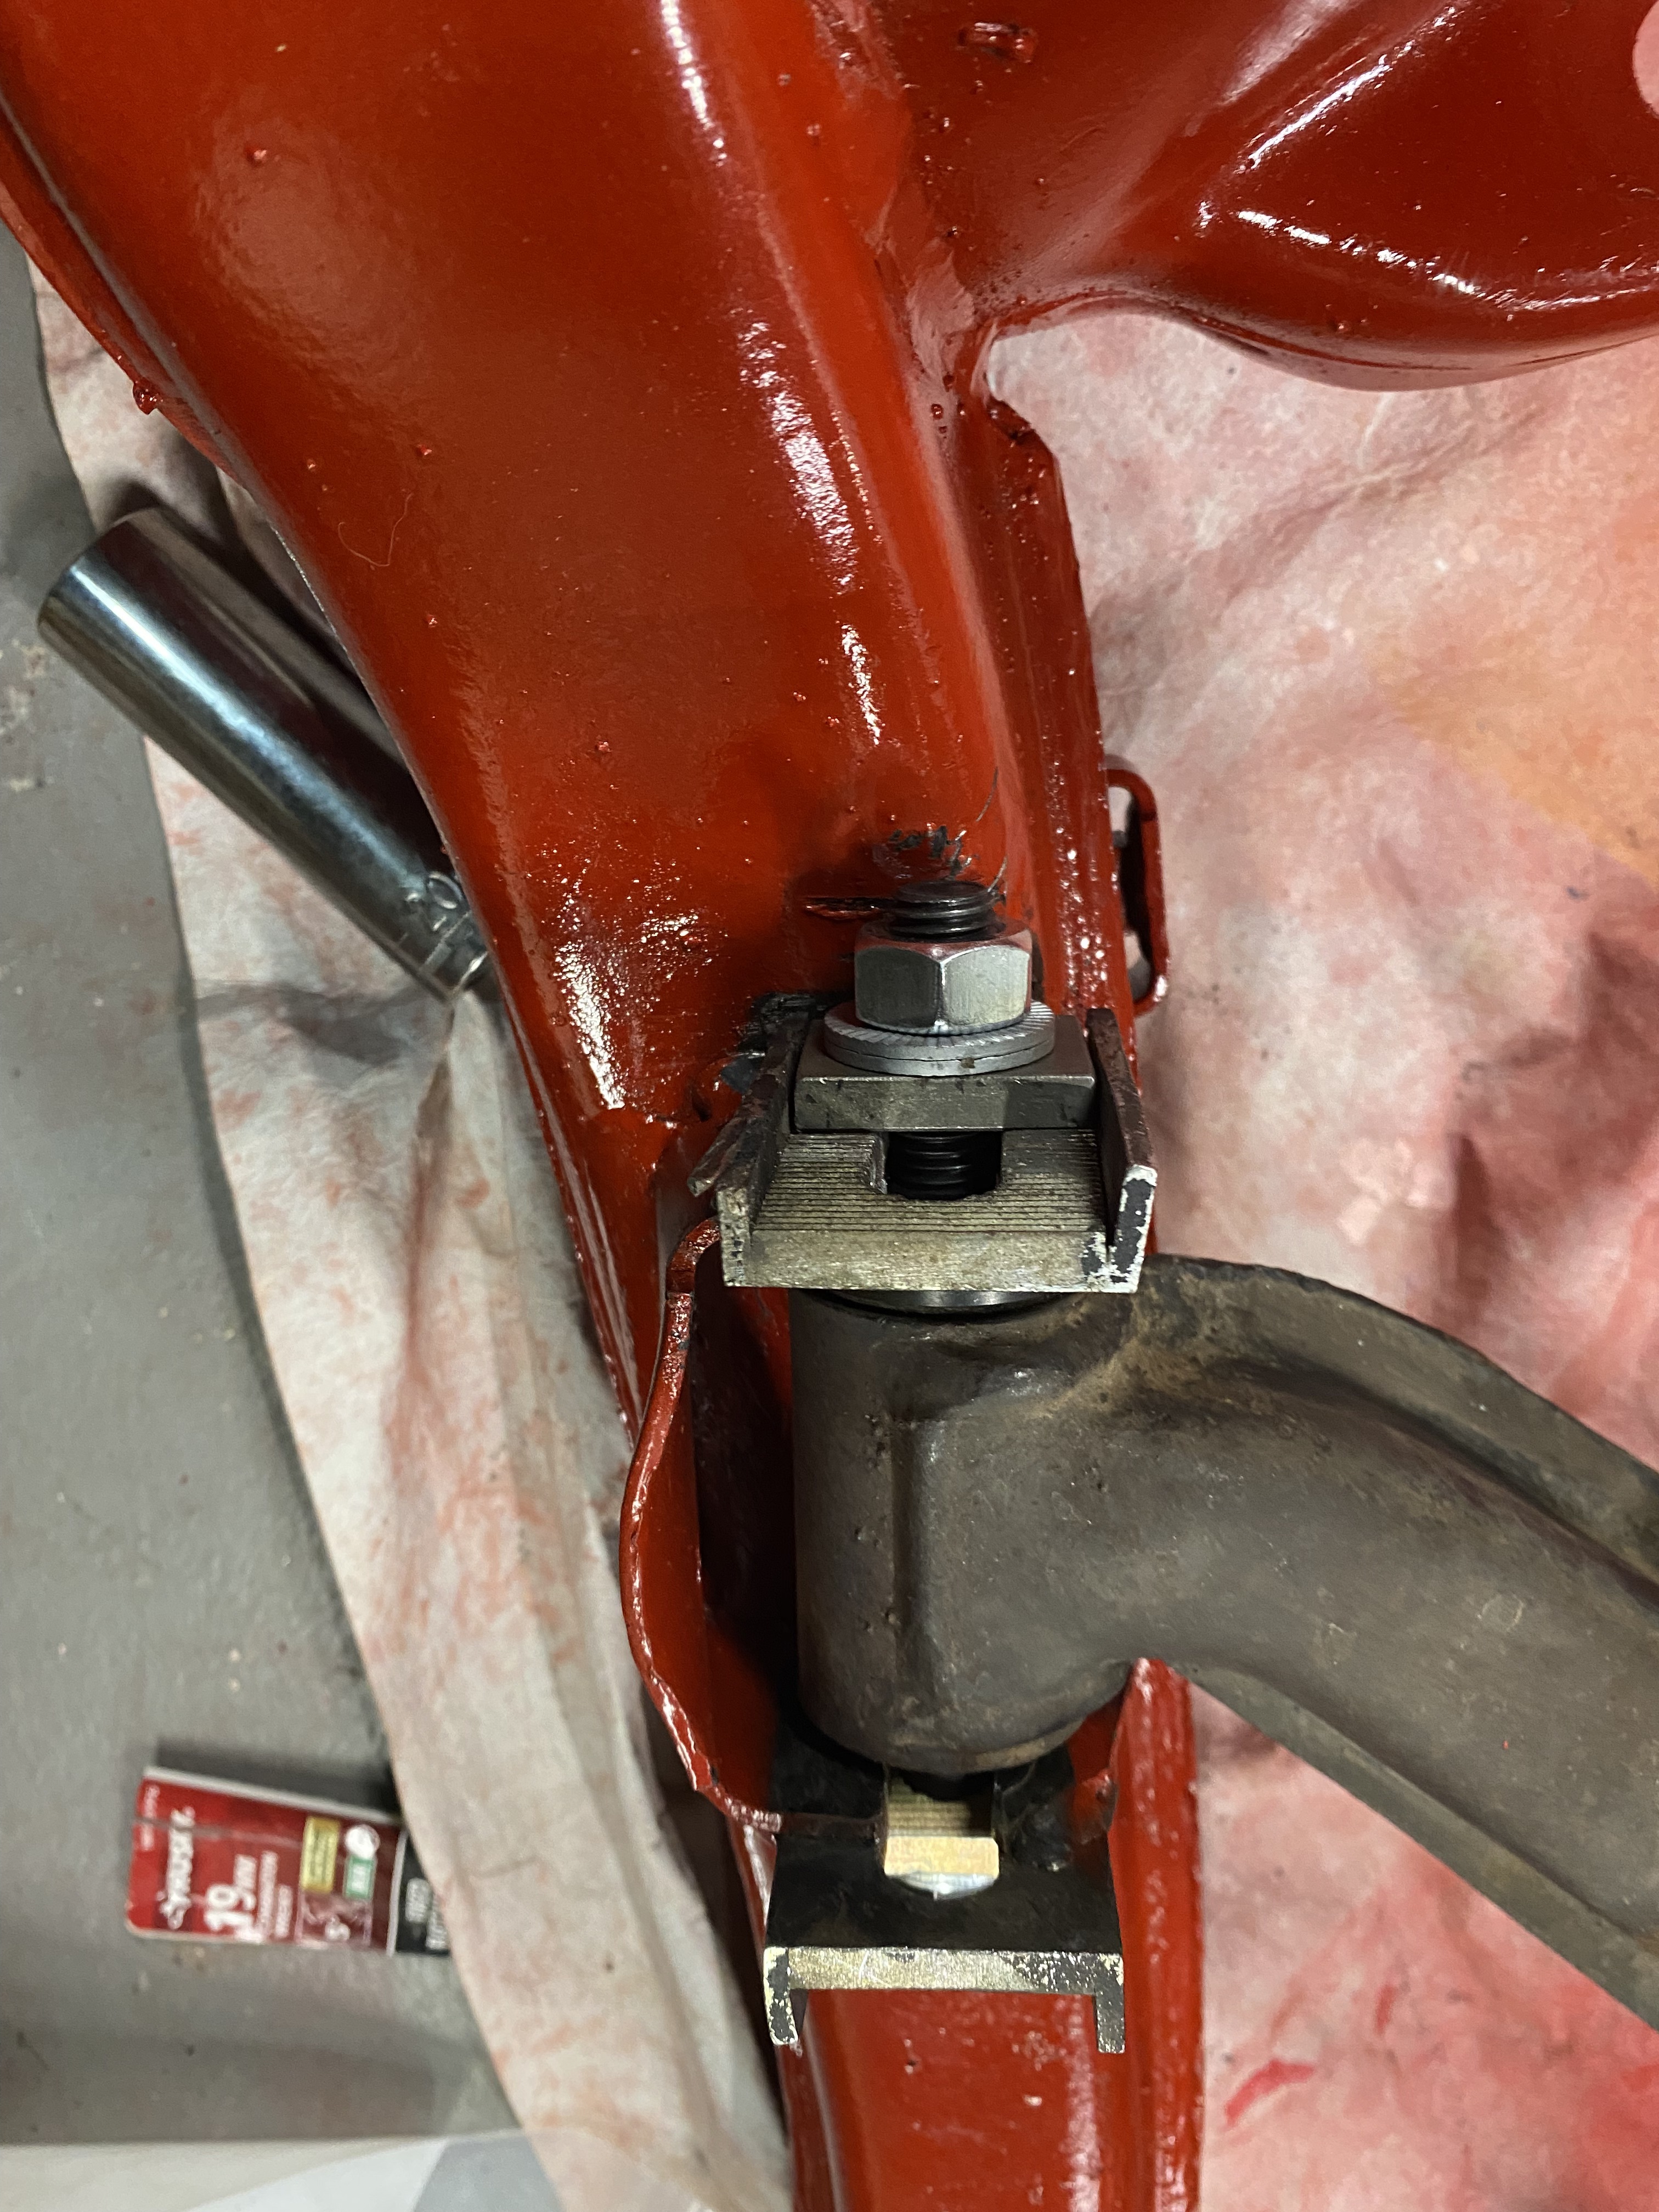
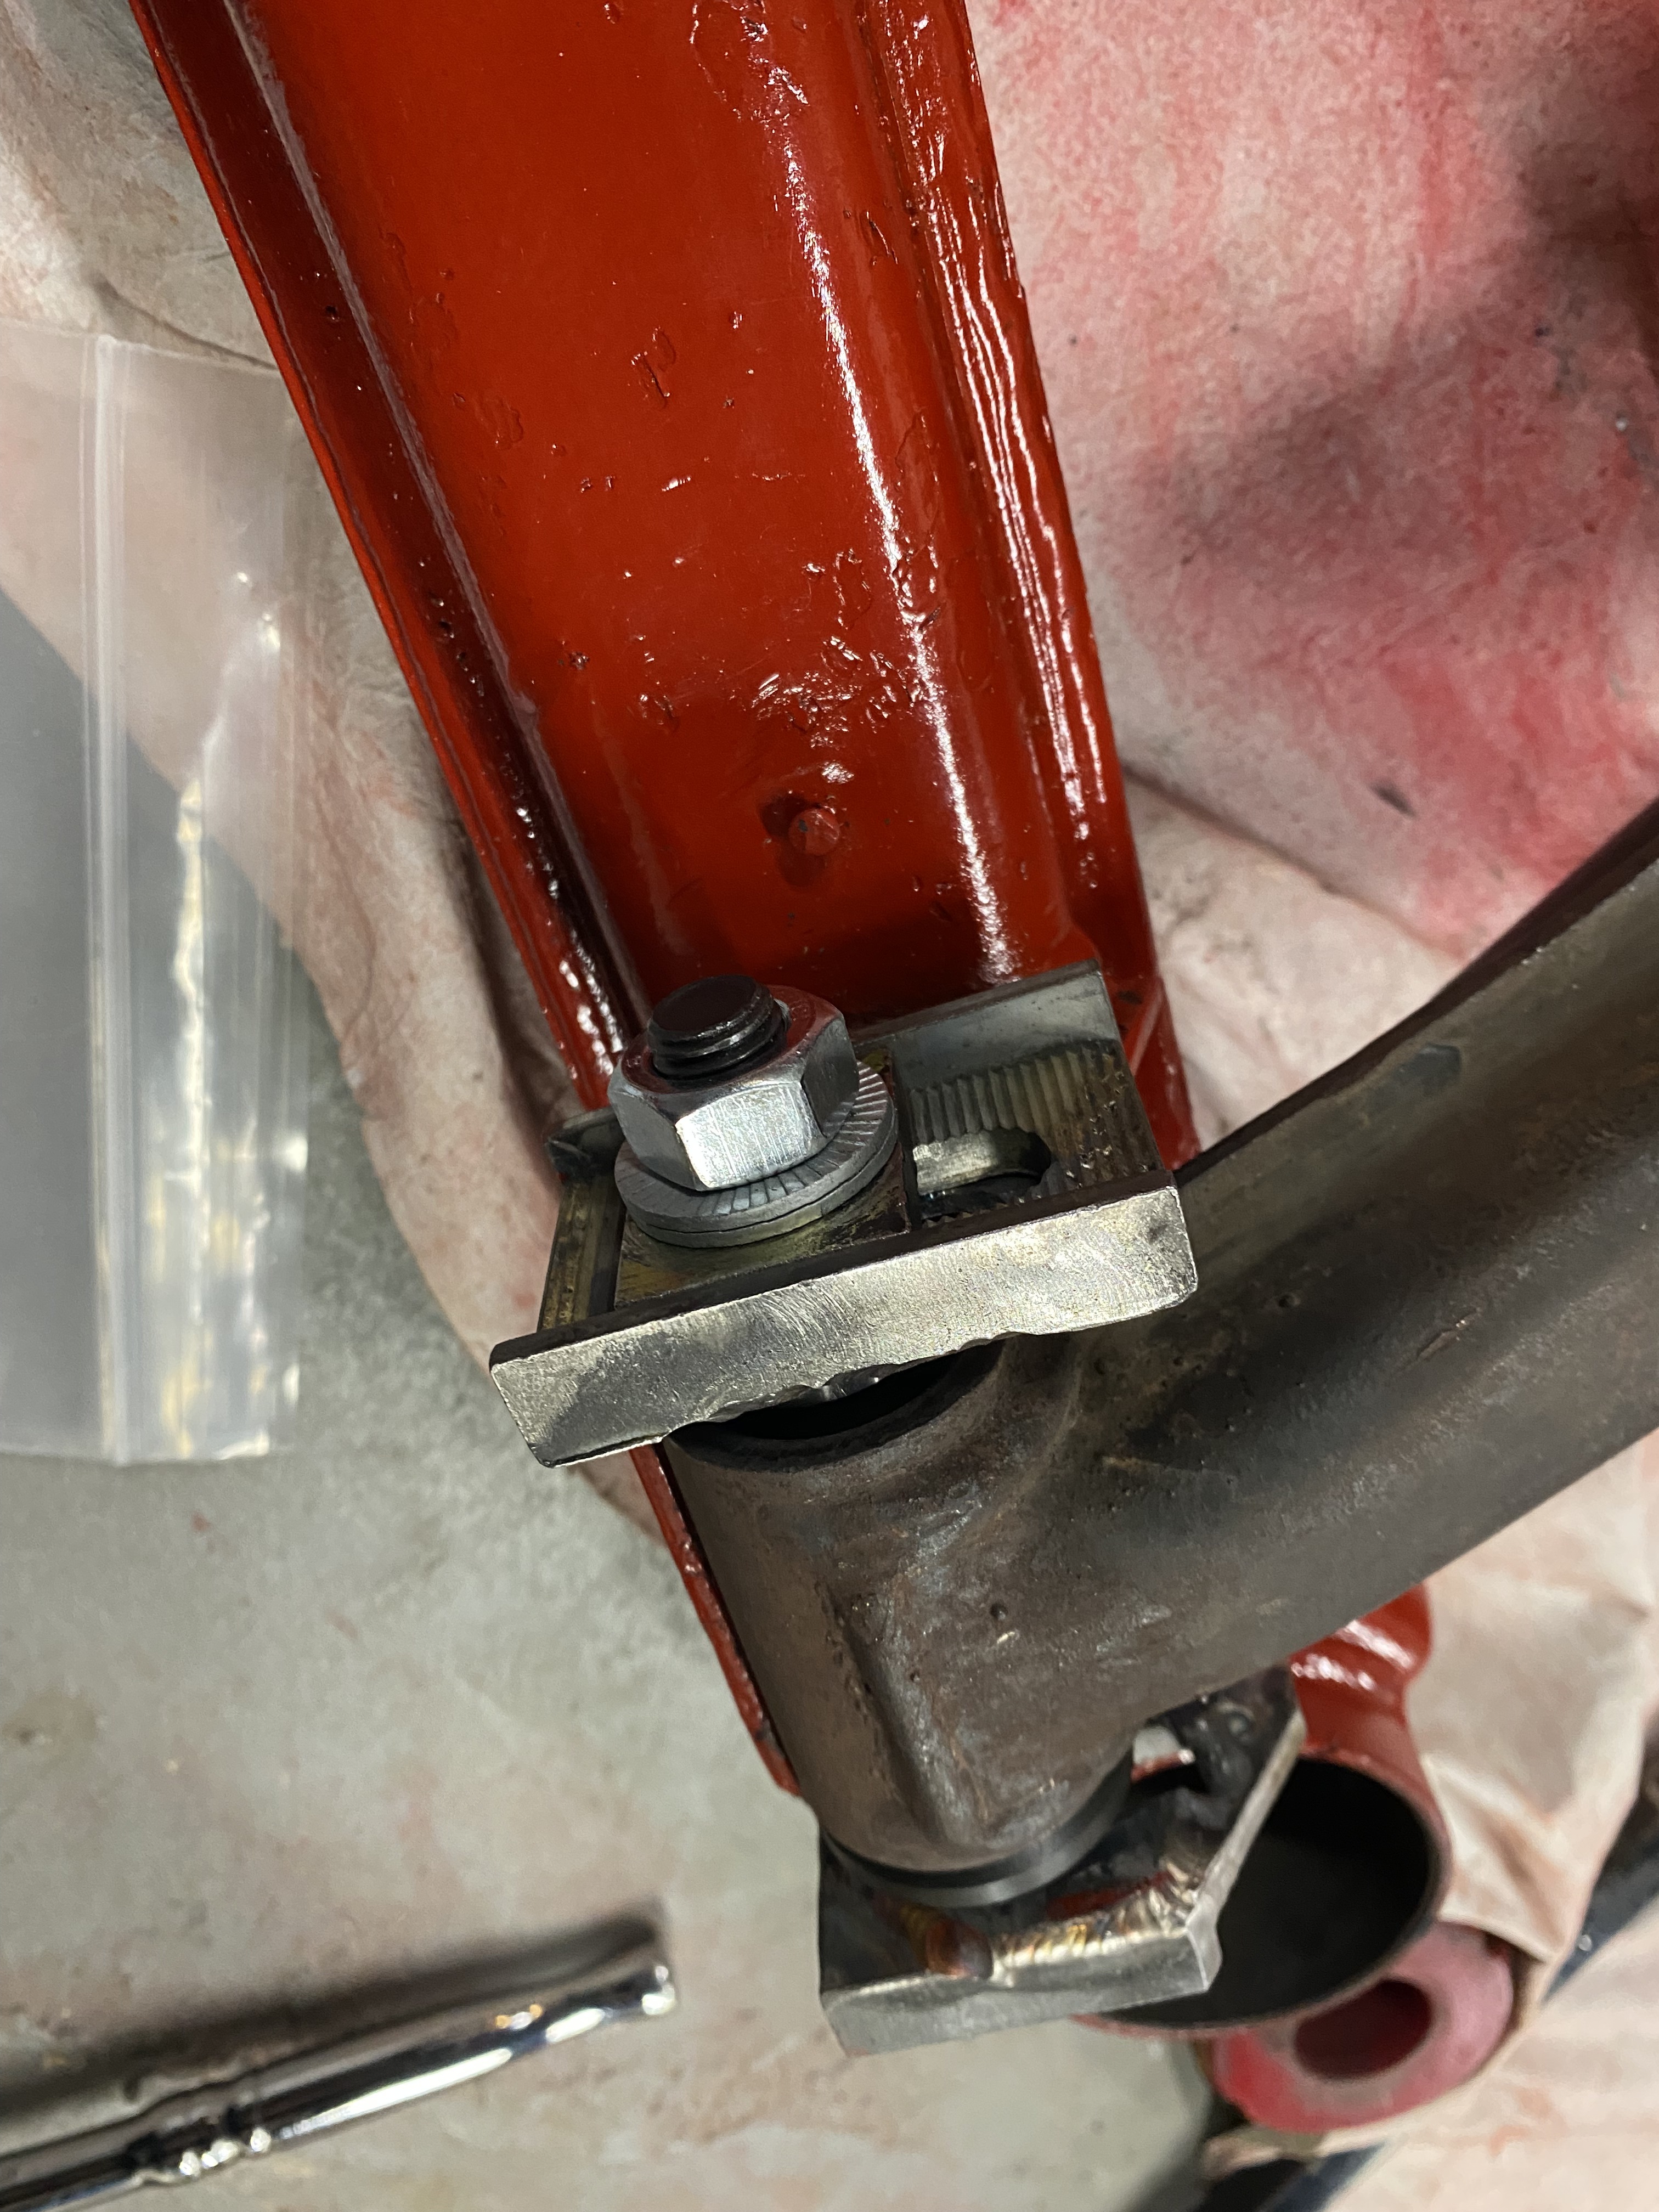
I trashed the IE bolts and nuts and bought some better quality hardware. I also drilled out the threads on the serrated nuts that I used for the outer (toe) adjusters. It’s really difficult to get enough torque on a wrench for the outermost nut. I took the subframe out of the car and thus was able to install the outer bolt from outside to inside (i.e. so that the nut is on the more accessible inside part of the trailing arm. But, since the IE supplied serrated nuts are threaded, you’d still have to tighten the bolt from the inside which is nearly impossible. Therefore, I drilled out the threads on those serrated nuts so that you only need to hold the bolt in place while you tighten the nut which is on the inside. I also used Nord-Lock locking washers which can be purchased at Pegasus Auto Racing Supplies.
You can also use an angle grinder to cut away some of the body to allow better access to the outermost bolt.
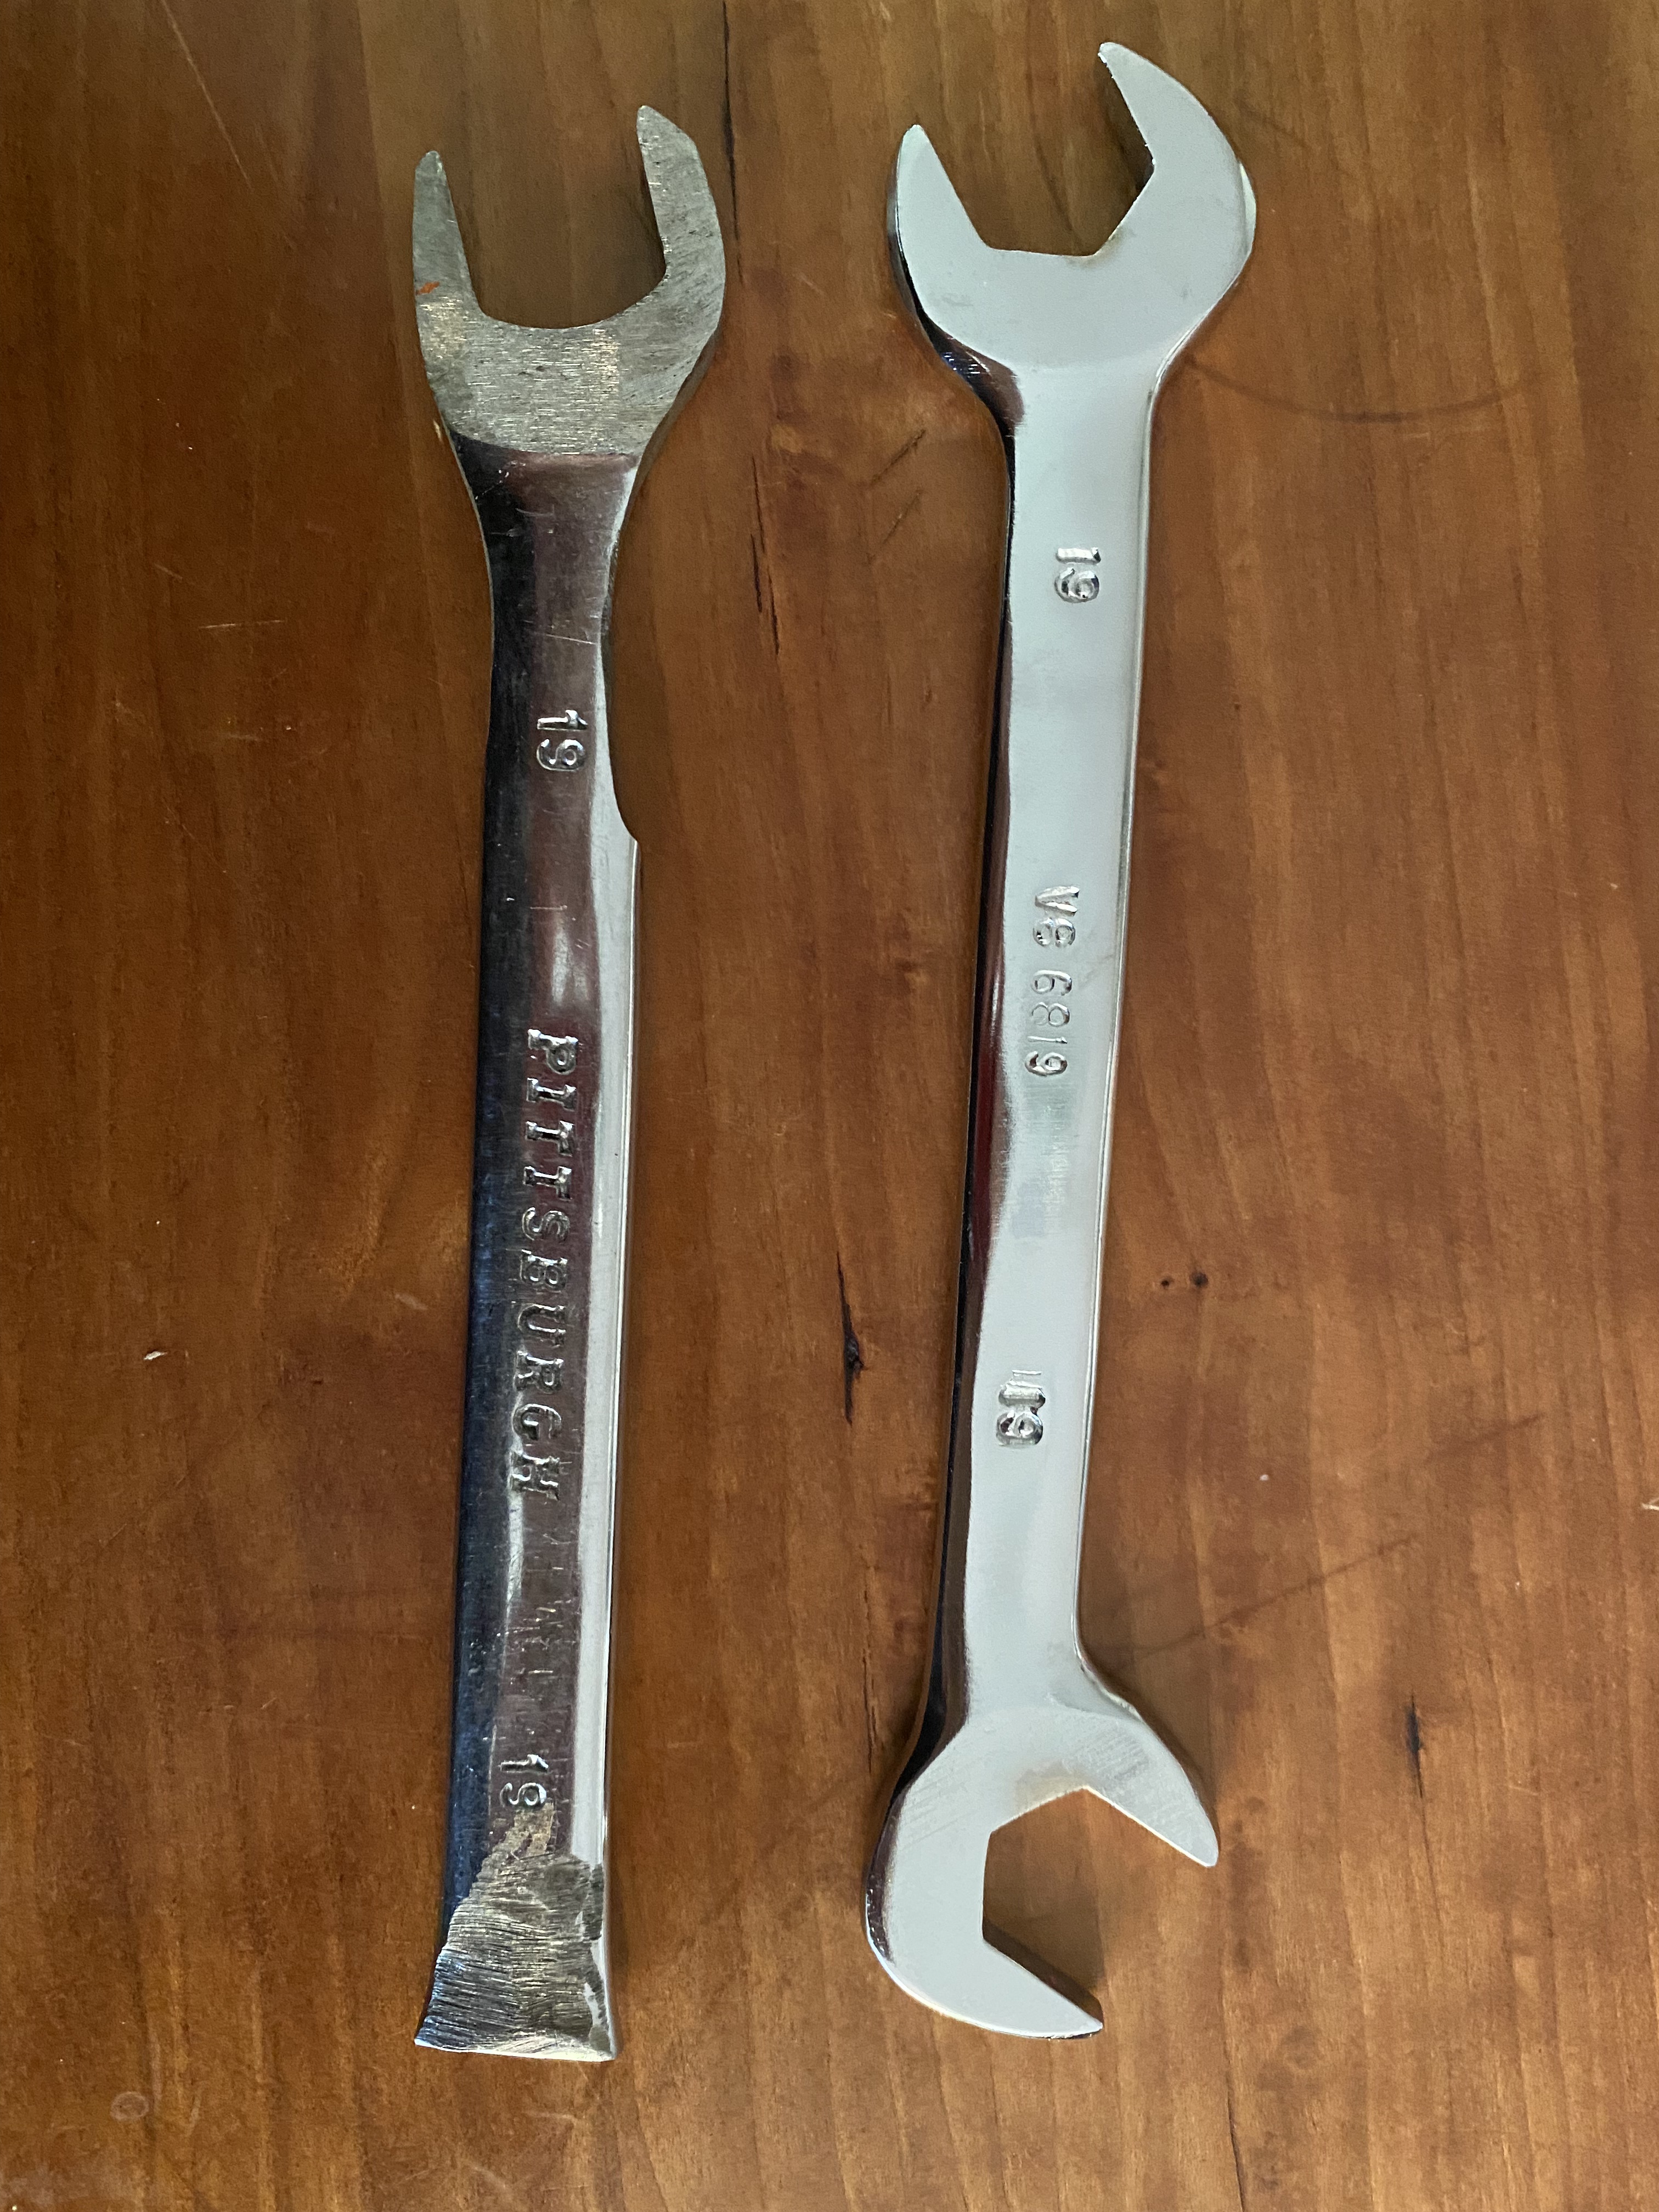
You’ll also still want to have some special wrenches on hand.
After a few race weekends, so far, so good…knock on wood.